

I made some painted batik fabric to use in some of my sewn projects. I call it batik, but really, it's more of a faux batik, since there is no overdyeing involved. Basically, I waxed the fabric as in traditional batik, dyed it with fabric dyes and removed the wax. I think it makes a nice stand in for the real thing, and it's a great way to add whatever designs and colors you want.

To begin, I stretched my cotton fabric onto a wooden frame using special silk tacks.


Using batik wax and a tjanting ( a special batik tool), I waxed the design. This was definitely the hardest part. Keeping the wax hot enough was a challenge, and if it got too hot, it would run so quickly through the tjanting, that I had a lot of blobs and drips. I did get the hang of it, but next time, I'll practice the designs I want beforehand.
After the waxing, I get out the fabric dyes. Before painting, I like to spray the fabric with a fine mist of water to dampen it and allow the dyes/paint to flow more easily.

Painting the fabric is easy with the use of Dye-na-flow fabric dyes. Very strong and intense and can be thinned with water. Some of the dye ran under my waxed lines, but that's okay, since the style of this fabric takes well to that kind of "boo-boo".
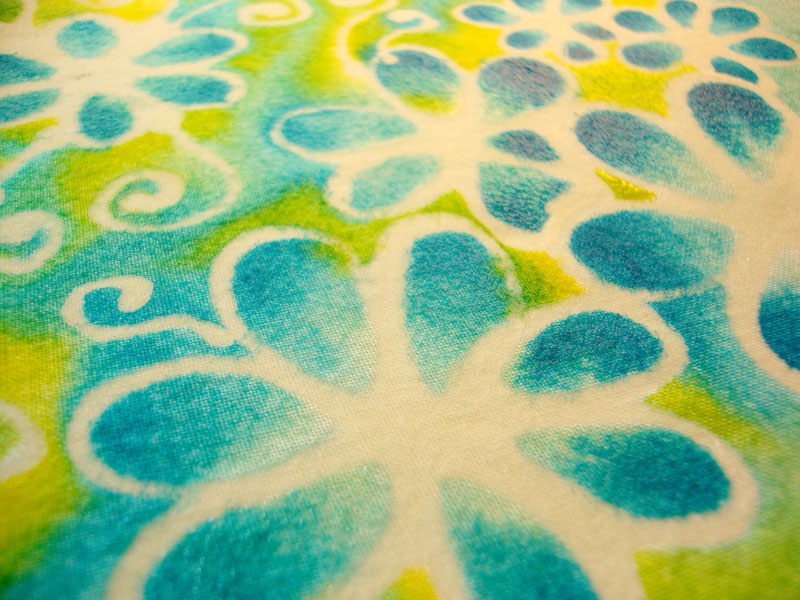
Here are a few pictures of the fabric in the process of the painting/dyeing.


When all the non-waxed areas are painted, I let it dry horizontally. This lets the puddled dye work it's way to the edges of the waxed areas.

I remove the wax by using a hot iron and putting the fabric between layers of paper towel. I suppose you could use newpaper if it was the non-smudge kind, or blank newsprint. Make sure the iron is NOT on steam.

Ta-Da! The finished fabric! Now I'll cut this up and use it for some sewing projects and soft art dolls. I cant wait to see what they look like!
No comments:
Post a Comment